On a recent Westlake remodel we hand-selected a French limestone mantle from a yard in Driftwood. Three days later it arrived on site with a faint yellow tint along the prep edges. The stone had not been damaged in transit. The discoloration was a surface effect from the shipping blankets and overnight humidity. Here is the process we run when we see it.
What causes yellowing on natural limestone
Limestone is porous. Anything that touches it during transport (cardboard, fiber shipping blankets, packing tape adhesive) can deposit residue that oxidizes on contact with air and humidity. The result is a faint amber or yellow cast, usually concentrated along the edges and faces that touched the wrap.
This is almost always cosmetic. The stone itself is fine. But on a hand-selected piece destined for a primary suite or great-room mantle, cosmetic matters.
Step 1: Diagnose before you clean
Before reaching for anything wet, we identify whether the discoloration is surface residue or a deeper stain. The test takes thirty seconds.
- 01Wipe a small inconspicuous area with a clean, dry microfiber cloth using moderate pressure.
- 02If any of the yellow lifts onto the cloth, it is surface residue and will come off with a poultice.
- 03If the cloth comes back clean and the yellow remains, the discoloration is bonded with the calcite and needs a slower process.
Step 2: Mix a calcium carbonate poultice
For surface yellowing, our go-to is a simple poultice made with food-grade calcium carbonate powder and distilled water. Mix to a thick, peanut-butter consistency. No surfactants, no bleach, no household cleaners. Limestone reacts unpredictably to acids and many alkaline detergents.
Step 3: Apply, cover, and wait
Apply a quarter-inch layer of poultice over the affected area. Cover with plastic wrap, taped at the perimeter to slow evaporation. Let it sit for 24 to 48 hours. The poultice draws the residue out of the surface pores as it dries.
After the dwell time, peel the dried poultice off in one piece (it lifts like a face mask) and wipe with a clean, dry cloth. If yellowing remains, repeat. Three poultice cycles is the maximum we use before stepping up to a calcium-carbonate-and-hydrogen-peroxide solution (3% peroxide, never higher).
Step 4: Re-seal before install
After the stone is back to its natural tone, we re-seal with a penetrating sealer rated for natural stone. This is the moment to do it. Once the mantle is set with grout and surround, sealer becomes a chore. Two coats, 30 minutes apart, wiped clean after each application.
What this costs and how to avoid it
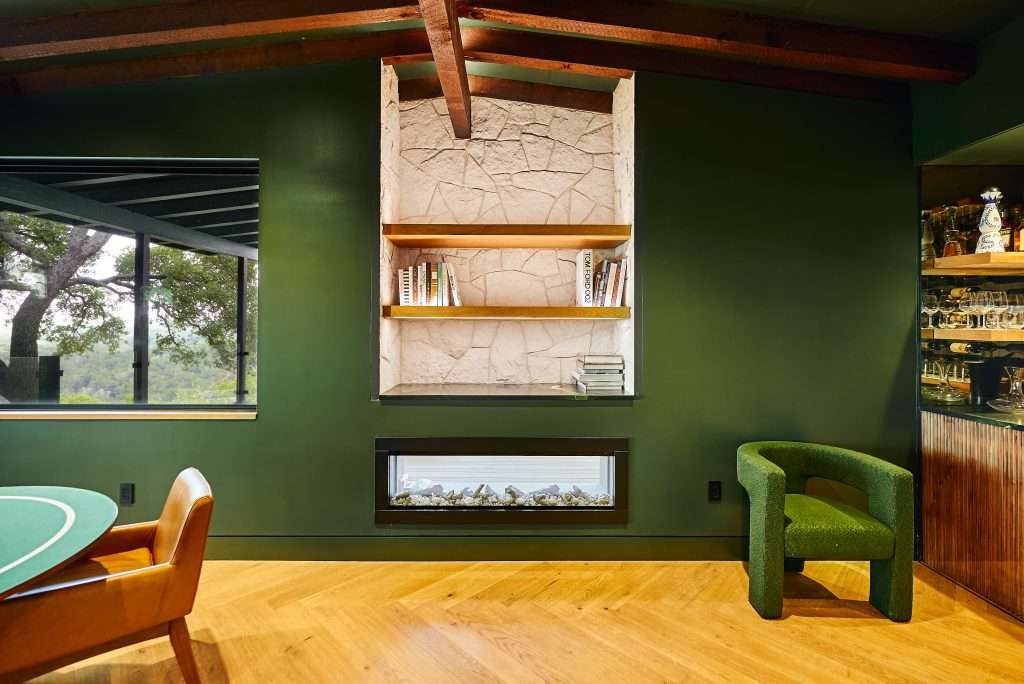
On the Barton Creek remodel above, we caught the discoloration before install and resolved it on site in a single afternoon. Cost to the client: zero. The fix is straightforward when you know the steps.
To avoid the problem in the first place: insist on plastic-faced corner protectors and rigid crating instead of fiber blankets on any hand-selected stone over $500. Spec it into your stone-yard delivery agreement before fabrication.

Related project
See the finished fireplace at Barton Creek Vintage View
Barton Creek, Westlake, Austin, TX